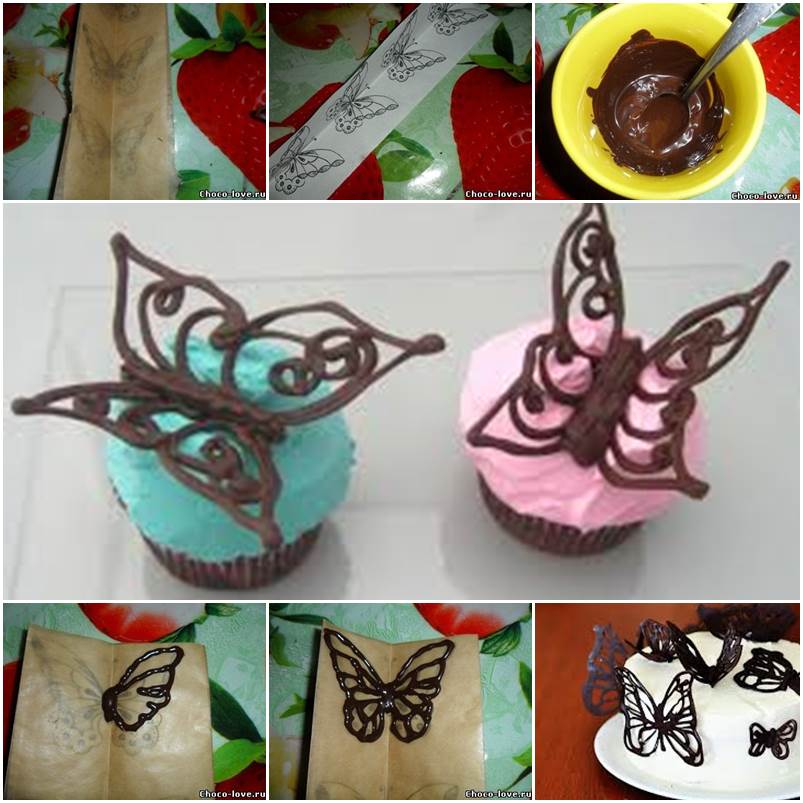
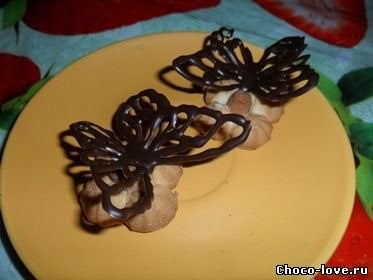
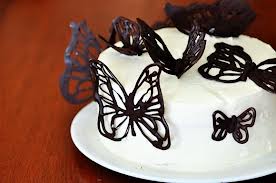
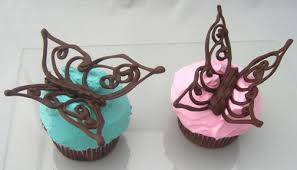

Here is a step-by-step tutorial on how to make chocolate butterflies. You can use them to decorate a cake or dessert, even dish decoration.
Making chocolate butterflies is not as difficult as you thought.
You just follow few steps:
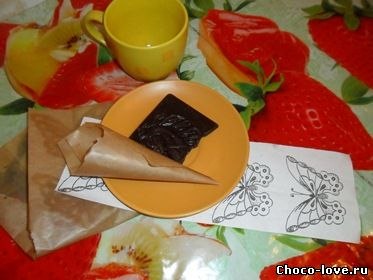
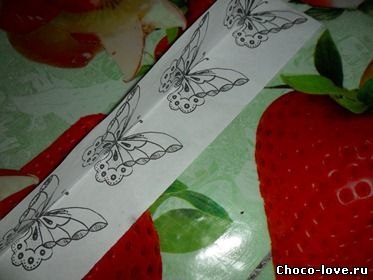
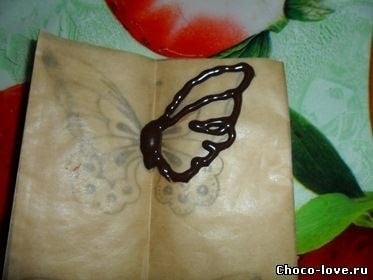
- Print or draw a butterfly on a piece of paper.
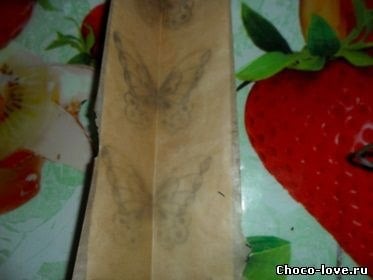
- Place a sheet of parchment over top of the print.
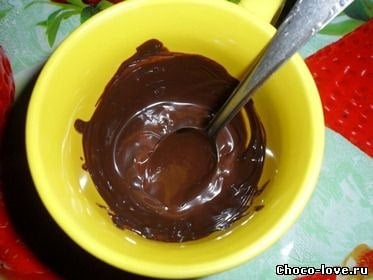
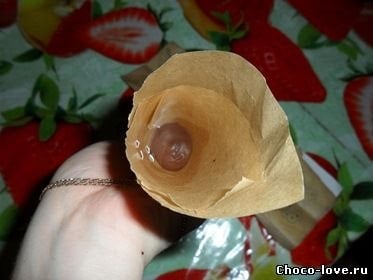
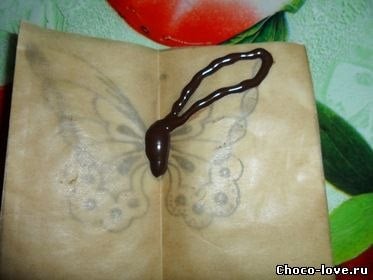
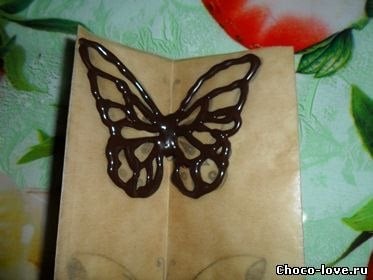
- With a parchment pencil filled with melted chocolate,
- trace the butterfly with chocolate.
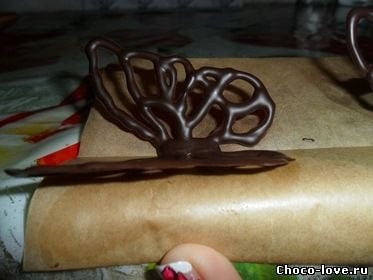
- Put butterflies in the freezer to harden.
- Leave them at least three minutes – or longer if you have time. You will know your butterflies are ready when their wings peel easily away from the parchment paper. OK, done.


